
How to Install Joining Clips
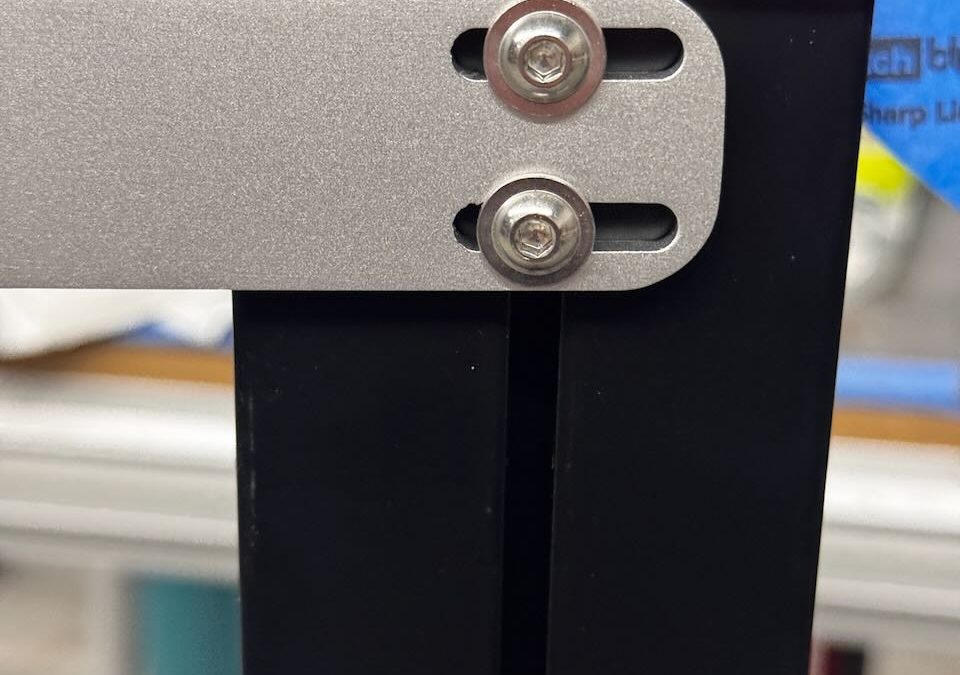
Each StopBreeze variable-height glass railing section can be securely joined to the next using a small connecting clip. The receptor nuts are already installed in the frame, so the clip simply screws into position during installation.
Although compact and unobtrusive, the clip greatly increases the rigidity and overall strength of the completed railing system. It helps the individual sections work together as one continuous, stable barrier while still allowing the glass panels to be raised and lowered normally.
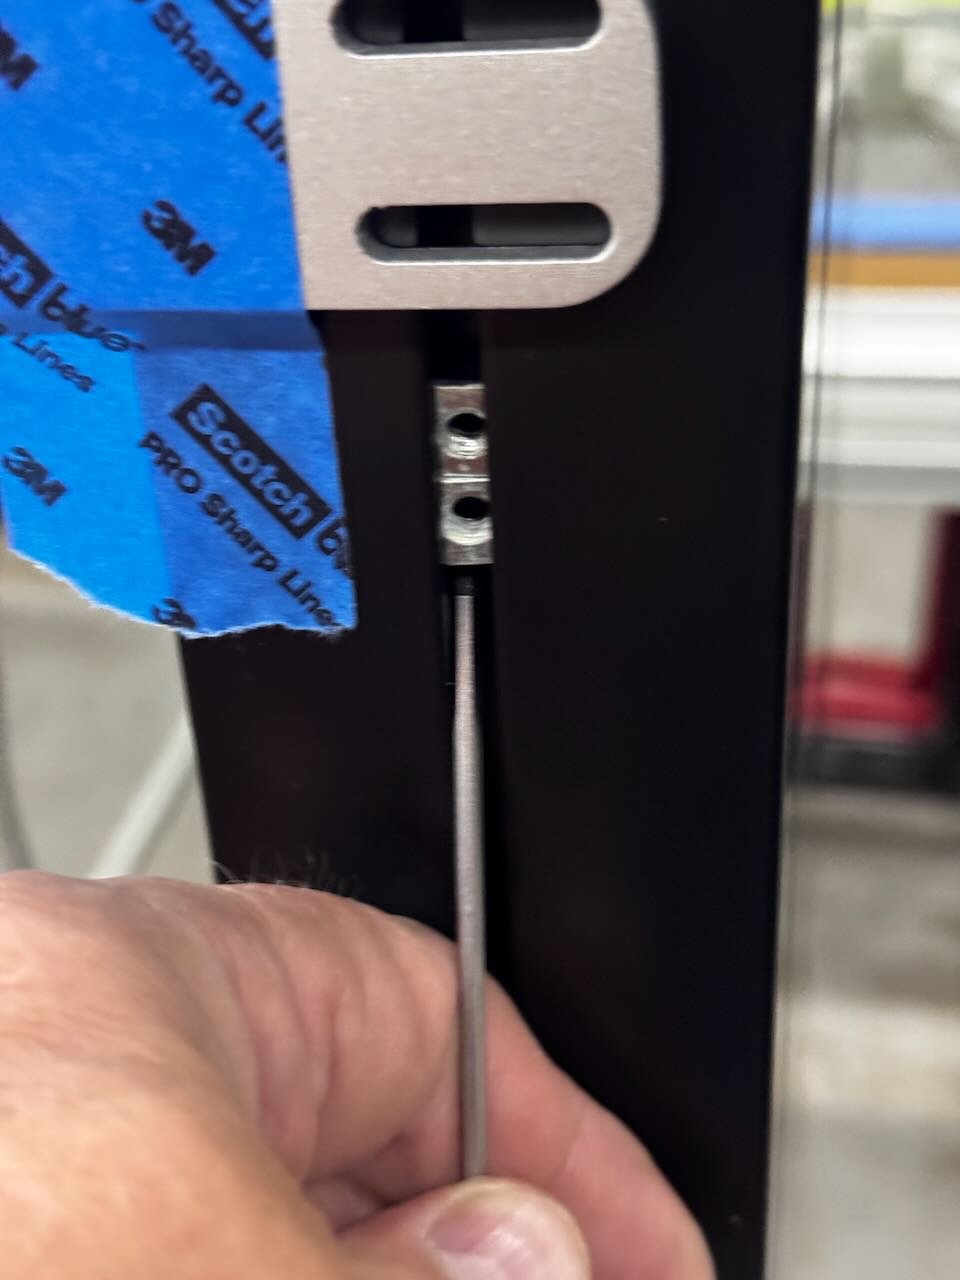
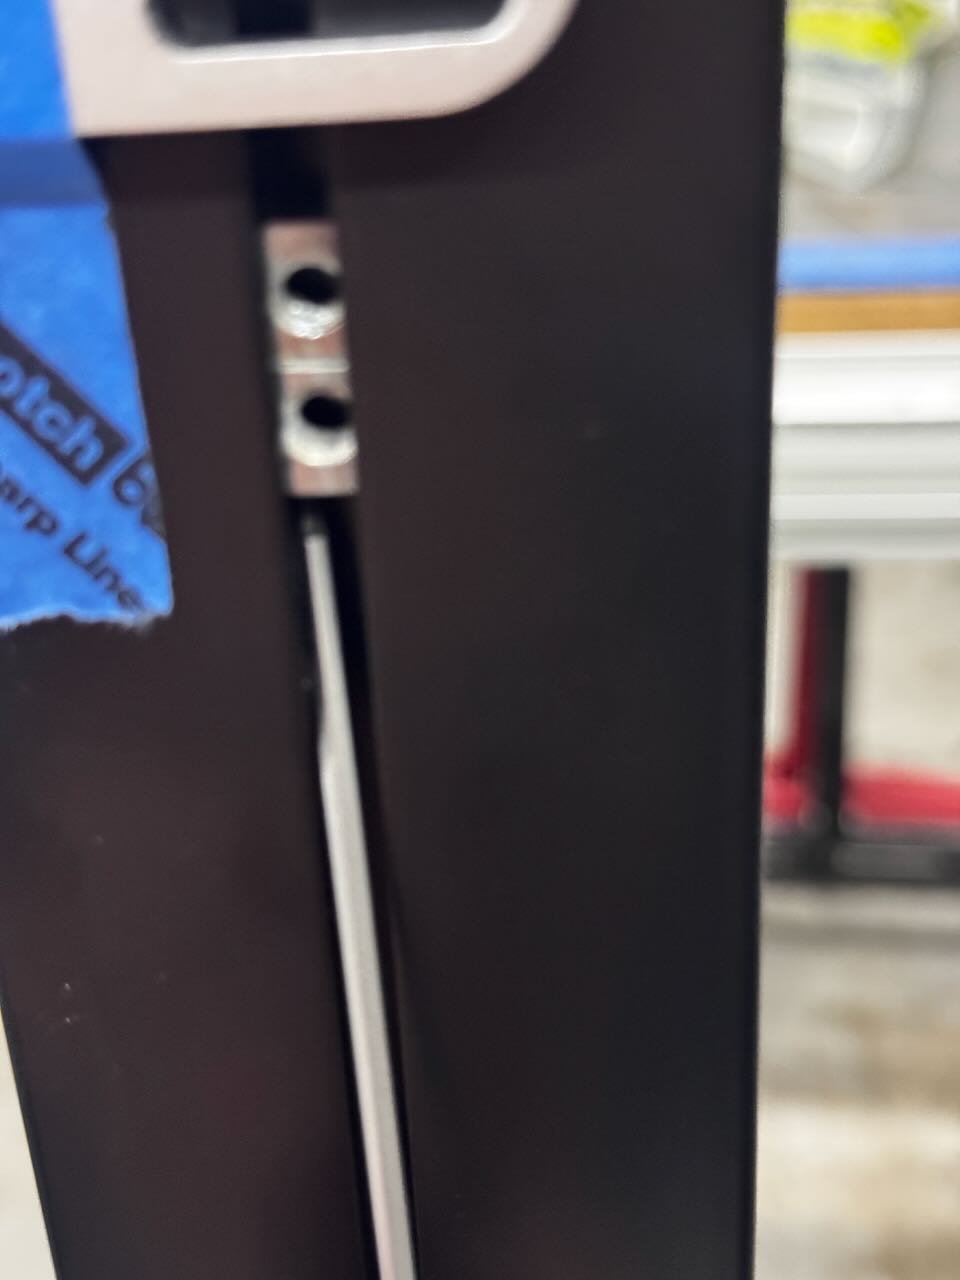
Once the panels have been istalled locate the receptor nuts in the channel.
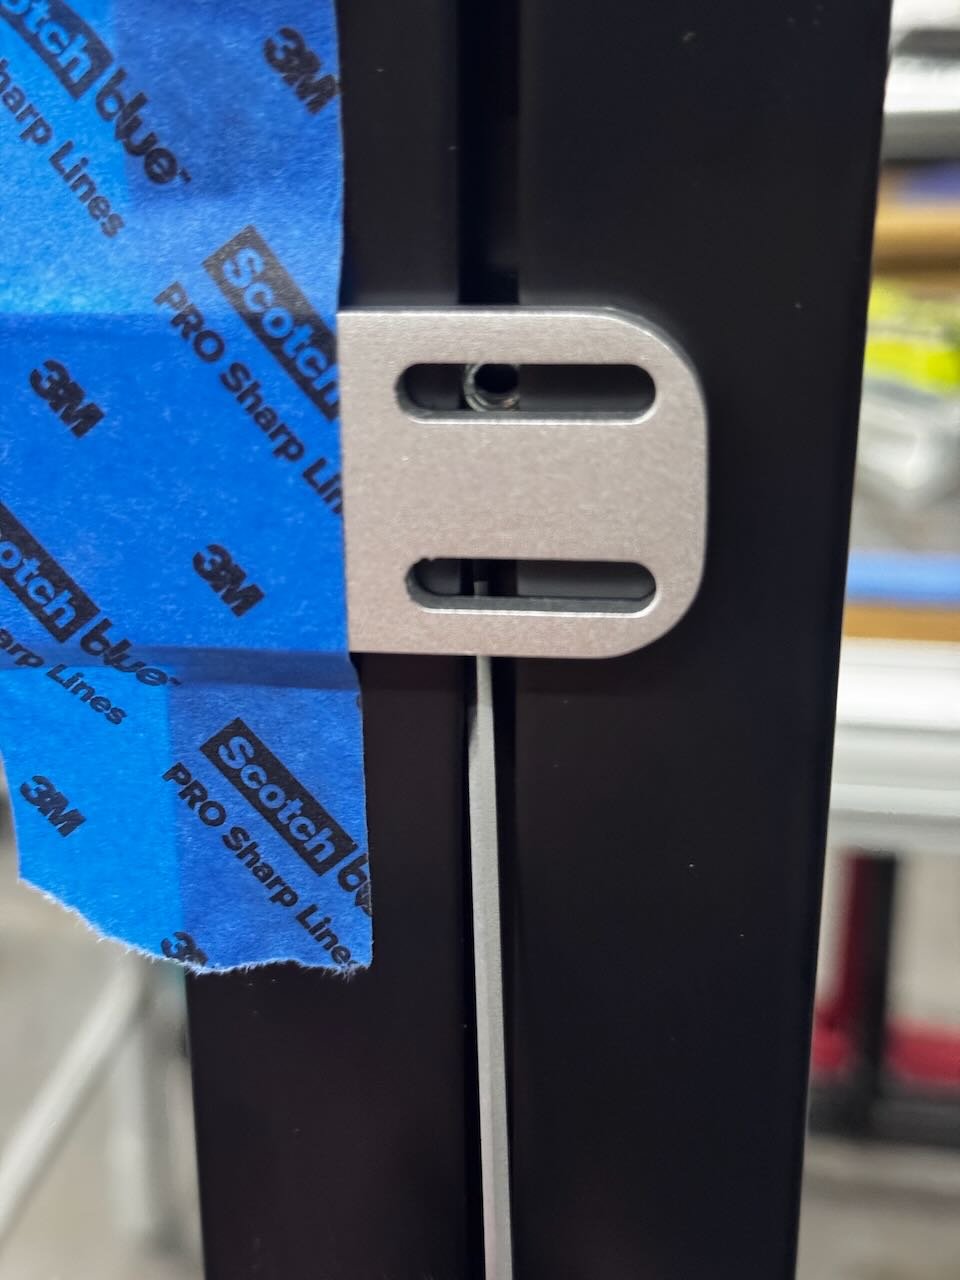
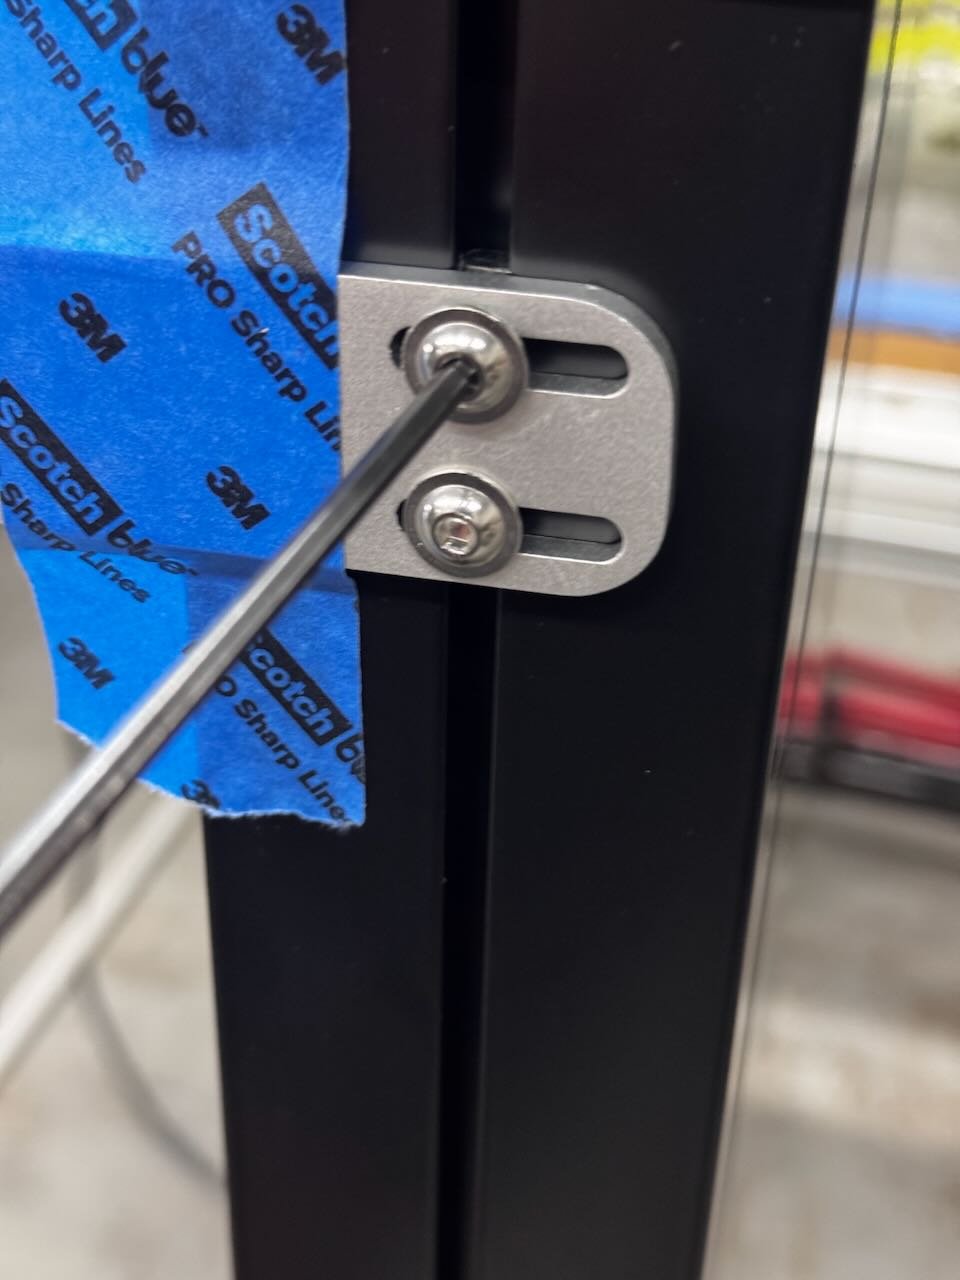
Tape the joining plate in place to stop it from moving.
Slide the nuts up the channel using any conveniant tool.
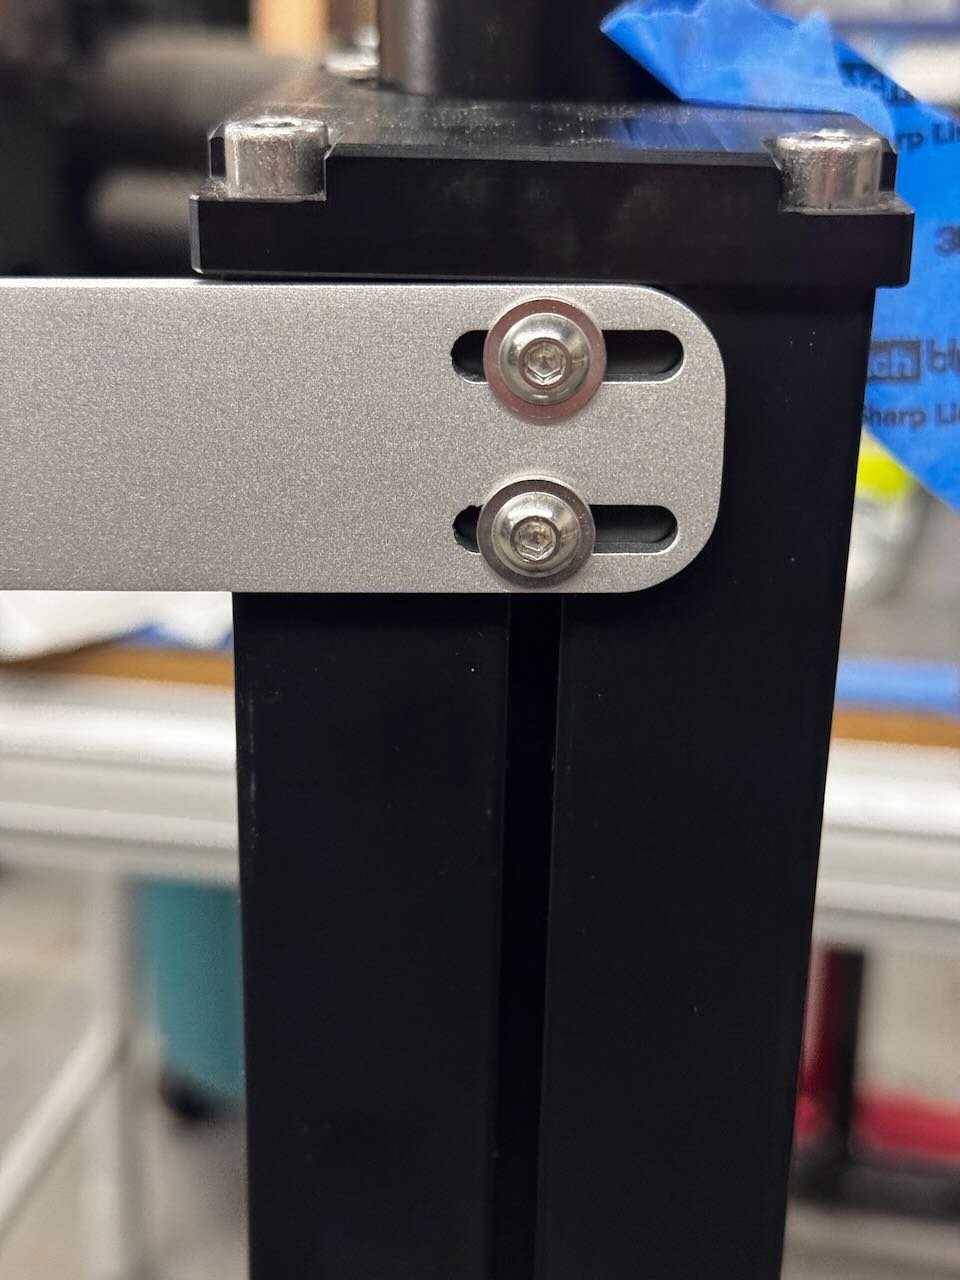
Locate the top nut first behind the plate and secure it in place with the screw.
Then slide the second nut down a little to secure the second screw.
Then repeat the process for the other side.
Straight clips and right angled clips are available.
For More Information Call 1 877 235 3552
Installing Retractable Glass Railings and Wind Barriers
Professional installation is an important part of a successful retractable glass railing project. Layout, substrate, anchoring, dimensions and site conditions all affect how a retractable wind barrier should be planned and secured. Installers should follow the applicable product instructions and evaluate project-specific structural and code requirements before installation.
Systems such as StopBreeze Variable Height Glass Railings use an adjustable upper glass section to provide flexible wind protection. When extended, the system works as a transparent retractable wind break; when lowered, it provides a more open profile. This combination makes variable-height glass systems relevant to residential, hospitality and commercial projects.
For projects that do not require adjustable height, fixed-height glass railing options are also available, providing a consistent glass profile and transparent wind protection.